The new Personal Voice setting lets you save a replica of your voice on your iPhone.
Whether it’s about self-driving cars, AI-generated music, or sizable language model-based chatbots like ChatGPT, artificial intelligence is a popular issue right now. AI will continue to alter technology as we now know it, and your iPhone is no exception.
Apple has included a new capability to iOS 17 that functions similarly to the various AI voice generators already making music, with the exception that in this instance, you can clone your own voice rather than the voice of a well-known musician.
AI is used by Personal Voice for the iPhone to duplicate your voice and store it on your device. It enables people with speech impairments to communicate with others using type-to-speak via FaceTime, your iPhone’s speakers, and third-party applications (which will soon support the accessibility feature).
Using Personal Voice could be interesting even if you don’t have a speech impairment. Additionally, you may get your voice cloned in less an hour if you’re using iOS 17. You can record your voice and set up Personal Voice on iOS 17 by following the instructions provided here.
How to set up Personal Voice on iOS 17
Before you start cloning your voice, make sure you’re somewhere relatively quiet, where you’ll be undisturbed for about 30 minutes. You don’t need complete silence, but you’ll be speaking for quite a bit, so it’s a good idea to have your voice be as clear as possible without background noises so that your cloned voice sounds decent.
Once you’re set, open your iPhone running iOS 17 and go to Settings > Accessibility > Personal Voice and tap Create a Personal Voice at the top. Hit the blue Continue button twice, give your voice a name, hit the record button and begin reading the phrases that appear on the screen. You’ll have to read out loud 150 phrases, which differ in length.

You can speak when it says Listening at the bottom of the page. Say the phrase, and Personal Voice will automatically move on to the next phrase without you having to tap anything. If you make a mistake, you can hit the record button to re-record the phrase. The phrases should take you about 20 to 30 minutes to complete, depending on how quickly you speak.
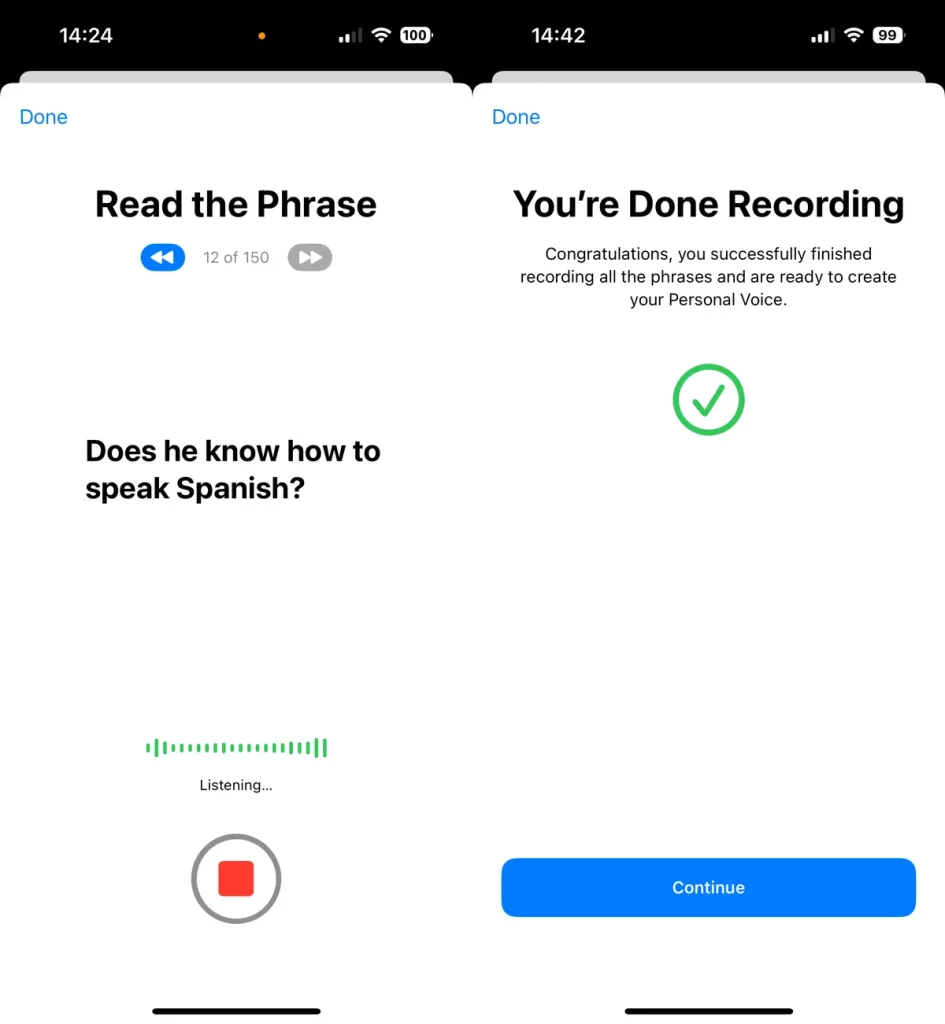
Once you’re finished, hit Continue, and your Personal Voice will begin to be created. For your Personal Voice to process, you’ll need to connect your iPhone to a charger and lock your screen. You’ll receive a notification when it’s read to use. My Personal Voice took roughly two days to process, but that may vary depending on the user. Note that iOS 17 is currently in beta, so bugs and issues may hinder Personal Voice.
Whenever you get the notification that your Personal Voice is ready to use, you can test out the voice pretty easily. To do this, go to Settings > Accessibility > Live Speech and toggle on the Live Speech feature at the top of the page. Once enabled go to the Voices section and choose your Personal Voice, which should appear at the top.
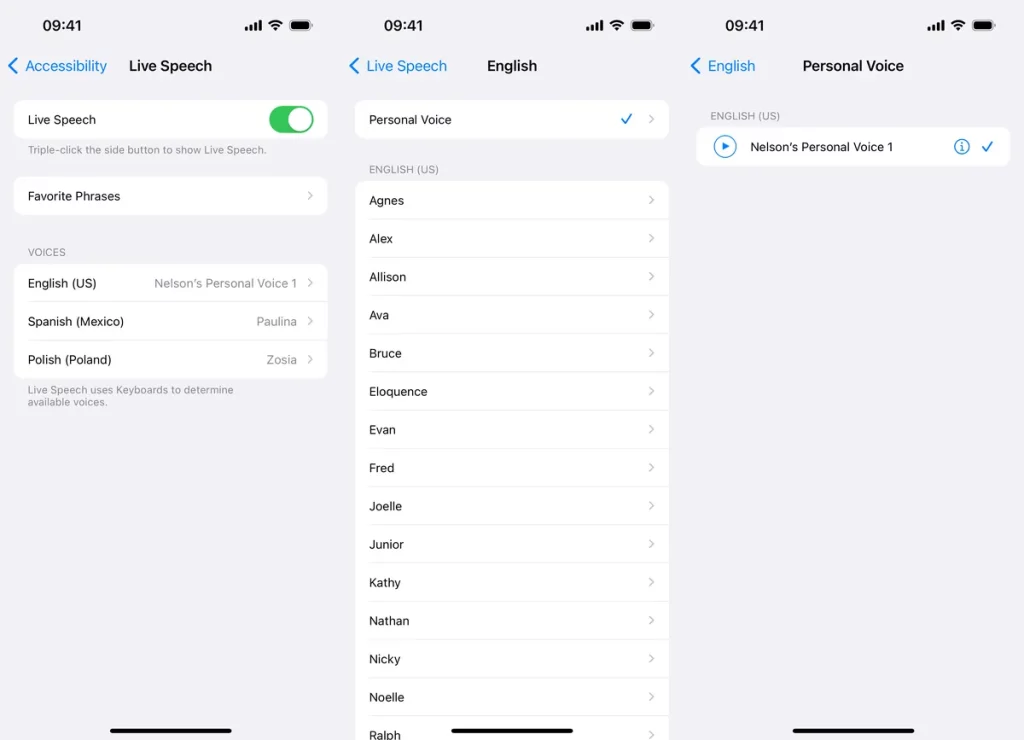
Note: If you don’t see your Personal Voice, either restart your iPhone or toggle Live Speech off and on. This should fix any issue.
Now, simply triple-click the side button on your iPhone, choose Live Speech, type whatever phrase you want your iPhone to speak in your voice and hit Send on the keyboard. You’ll then be able to hear your cloned voice speak the phrase you typed. You can use this feature during phone calls or via FaceTime.

In Settings > Accessibility > Live Speech > Favorite Phrases, you can add phrases that you want to appear in the Live Speech feature so that you don’t have to type it out each time. Just hit the Phrases button in Live Speech and all your saved phrases will appear.